Burnished Concrete
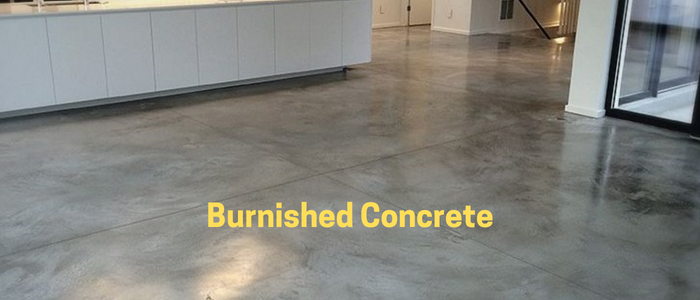
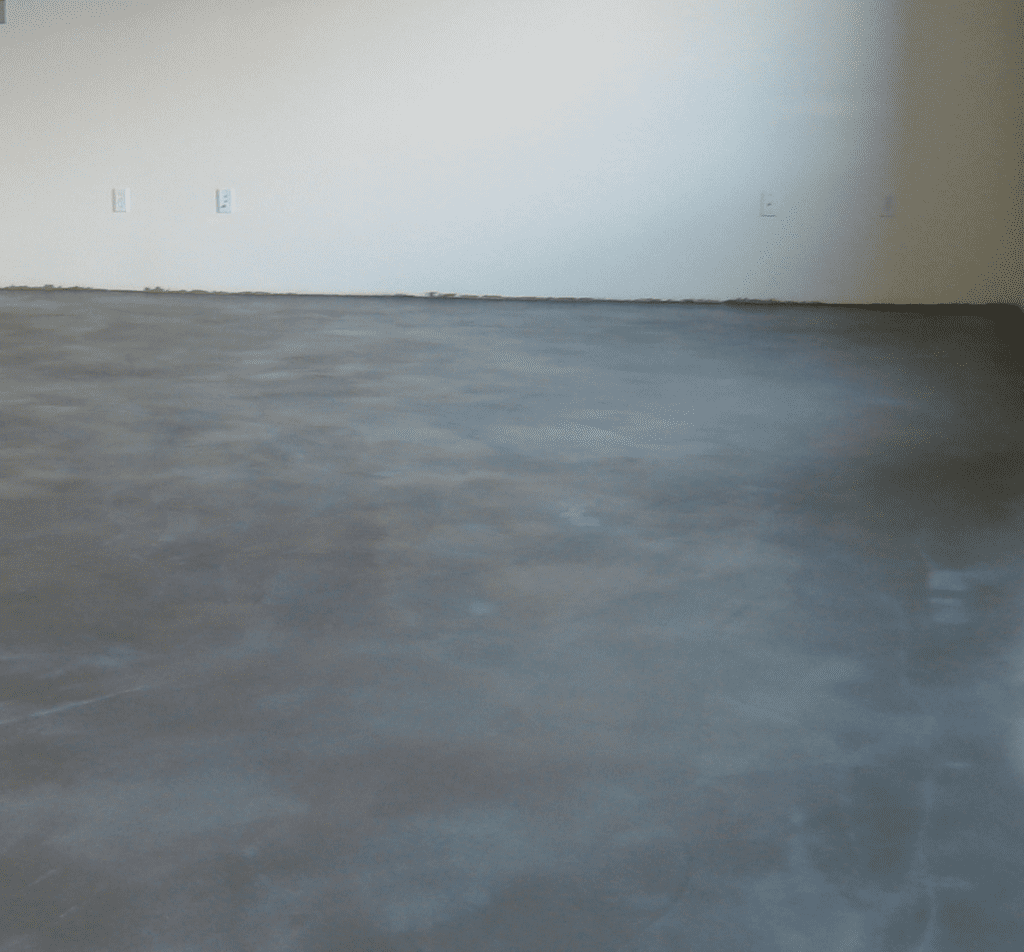
Burnished concrete is a choice for concrete surface finishing. Burnishing provides you with a surface like this image:
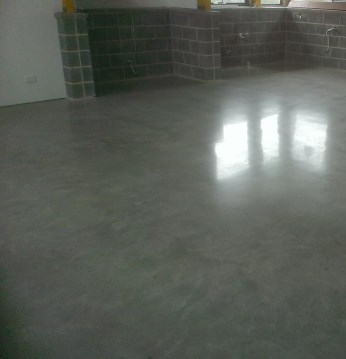
I guess once you look at the image, you realize some of the benefits of burnished concrete.
In this post, we will walk you through multiple aspects related to burnished concrete. So, stay tuned!
So, What is Burnished Concrete?
Burnished concrete is the polished concrete finish where there is no aggregate exposed. This type of concrete finishing gives a hard surface that is good looking and durable against wear; thus, making burnished concrete suitable for residential and commercial buildings.
By the way, what do we mean by Burnishing
What is Burnishing?
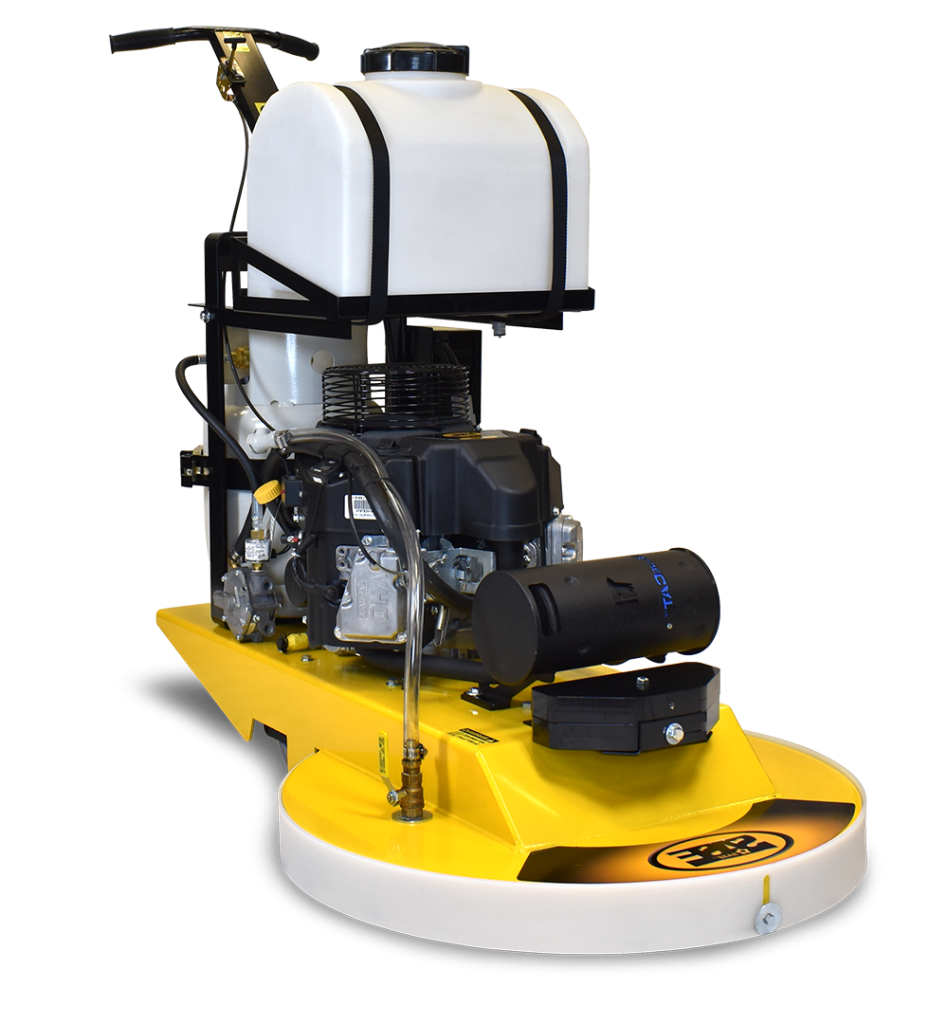
Burnishing means the use of mechanical equipment on the surface of concrete. The typical burnisher spins about 1,500 rpm to 2,500 rpm.
The goal of the burnishers is not to grind the surface of concrete since they are not as powerful as the grinders. Instead, the goal of burnishers is to heat, melt and buff a chemical product on the surface. This process melts and disperses the chemical coating into the concrete’s small pores on the surface.
When burnishing concrete, a densifier can be used to provide the surface some of the same qualities as mechanical finishes, such as shine, hardness, and durability. However, it’s simple to do it incorrectly, and if you mess up the installation, it won’t turn out quite as well as you had hoped.
Types/Methods of Burnishing Concrete
There are two major types and methods to obtain the burnished concrete:
Method I: Steel Trowel Burnishing
Troweling is employed in this technique to get the desired surface shine. Either hand troweling or machine troweling can be used for this. Concrete burnishing is influenced by a variety of parameters, including slump, compaction, finishing methods, curing, and the time of concrete casting.
In order to achieve a consistent high-quality appearance, certain characteristics of concrete must be strictly guaranteed. To guarantee that there is enough fine material available to provide a satisfactory surface polish, concrete should normally have a strength of at least 32 MPa.
The normal concrete slump needed for the steel trowel burnishing procedure is 80 to 100 mm, with a tolerance of 15-20 mm. Burnishing is intended to produce a surface that is smooth, impermeable, resilient, and free of any remaining trowel marks.
Method II: Wax or Resin Burnishing
Wax and resin toppings are applied to the concrete floor during this technique of burnishing to make the surface sparkle. Burnished finishes can also be achieved with resin-based coatings, liquid polishes, and floor waxes.
These are multi-layer applications that are burnished or polished with polishing tools once the advised cure time according to the manufacturer has passed. The quality of the concrete density, the coating material, and the burnishing procedure all affect how much shine is produced.
Steps for Concrete Burnishing
Step 1: Have a concrete that satisfies the specs
- The criteria of the standards should be met by the concrete that has to be burnished.
- The maximum nominal aggregate size for the concrete must be 10, 14, or 20 mm, and it must be placed using a chute, pump, or kibble.
- The cement and the colour pigment must be specified if the concrete floor is intended to be any particular colour.
- Strength should be at least 32 MPa
- A slump of 80–100 mm with a tolerance of 15–20 mm is required for the concrete.
Step 2: Concrete placement
- Agitator trucks must be used to quickly deliver the concrete to the desired location.
- The concrete on site should not be given any additional water to avoid compromising concrete quality.
- Concrete must be poured into the formwork to the desired level without creating any hollows, depressions, or screed lines. Any depressions and hollows must be filled with concrete rather than slurry.
- To guarantee the release of trapped air and surface imperfections, concrete must be sufficiently compressed. Immersion vibrators must be utilized for slab thicknesses more than 200mm.
- A 3-m straightedge placed anywhere on the surface of the concrete must not deviate from finished concrete surfaces by more than 12mm.
- During the concrete casting, make sure to level the surface as much as you can. This is a must because when creating the burnished concrete, we do not remove any existing materials from the concrete surface.This mean that if there are originally highs and lows in the concrete surface after casting, they will also remain in the burnished surface.
Step 3: Burnishing of concrete surface
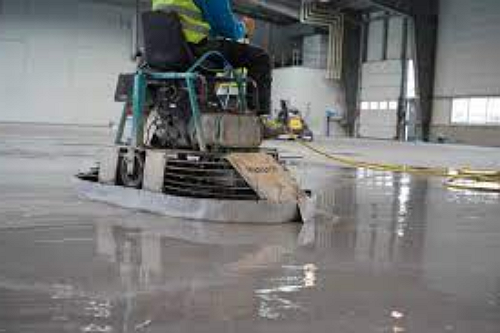
3.1- Steel Trowel Burnishing
- Steel trowel burnishing of the concrete surface is achieved by continually working the surface of the concrete with a hand trowel or mechanical troweling machine until a shine is generated on the surface of the concrete.
- Working on the concrete surface repeatedly causes the concrete to become stiff and guarantees optimal durability, impermeability, and abrasion resistance.
- Consistent pressure must be used during the troweling process. To prevent the formation of hollows, ridges, and depressions, each troweling must be at an angle of 90 degrees to the preceding pass.
- The addition of water or wet wiping to the surface of the concrete during finishing should not be authorized if the concrete becomes unworkable as a result of decreased water content.
3.2- Wax Burnishing
- To ensure a concrete surface free of trowel marks, concrete must be steel troweled before being burnished with wax and resin. However, the concrete must not be overworked to the point that the surface color becomes uneven.
- When using resin or other chemical sealer materials, they must be applied to the surface and completed per the manufacturer’s instructions.
- When using natural wax products, the surface must be properly prepped before the product is applied, and it must be completed according to the manufacturer’s instructions.
Step 4: Curing of concrete
- To keep the concrete surface wet and avoid moisture loss owing to temperature and evaporation, the finished concrete is cured for a minimum of 14 days and a maximum of 28 days.
- The curing process should start once the concrete get hardened. Usually, it take 3 hours after finishing to start the curing process.
Step 5: Surface sealing
- Penetrating sealers are typically employed for this kind of work to seal the concrete surface once the curing process is complete.
- Applying the sealer and allowing it to cure are done in accordance with the manufacturer’s instructions.
- To maintain the concrete surface clean, routine surface cleaning is required.
Precautions for Burnishing Concrete
- Note that it is important to polish the concrete before the continuation of the building process.
- The building process can cause stains on the concrete surface that can not be removed with polishing. This means you will find discolouration on the concrete surface that you can not remove. Also, if you tried to remove this discolouration using a heavy grinder, you will expose the aggregate.
- Thus, complete the polishing first of the floor. Another benefit for this in addition to the prevention of discolouration and less risk that the floor will be contaminated is that no walls will exist to hinder your work; thus, you will get a better finish
- Once polished, the floor is sealed and become reasonably damage resistant. It is crucial that the builder safeguards the floor during the remaining construction.
- Keeping a clean job site is the greatest approach to safeguard the floor. Simple cleaning, sweeping, or blowing pollutants debris and dirt off the concrete is required before walls and a roof are constructed.
- Avoid leaving screws and nails where they might rust due to moisture.
- Avoid storing lumber there so that it can become wet and leach tannin.
- The floor can be protected by covering when walls and a roof have been put in place.
Advantages and Disadvantages of Burnished Concrete
Advantages of Burnished Concrete
- Concrete with a burnished surface is exceptionally robust and durable. It can readily sustain loads from strong foot traffic and machinery.
- A burnished concrete floor with proper installation, sealing, and maintenance may last more than a century.
- Maintenance is relatively simple because the surface is flat and smooth. Make sure to avoid letting dust build up on the surface.
- The surface is water resistant when it is properly polished.
Disadvantages of Burnished Concrete
- The trowelling method makes the concrete exceedingly hard and solid, which makes it difficult to step on for extended periods of time since it lacks a cushiony sensation under feet.
- The poor heat retention of polished concrete floors is another disadvantage. This implies that throughout the winter, the floor’s surface gets chilly.
- Concrete floors are highly prone to moisture penetration if they are not properly polished and sealed.
- Because the surface is robust and rough, walking on it makes loud noises.
Read Also: